When I first read the Tinder Box there were many characters to choose from. Although many seemed interesting I decided to go with the soldier as he had the most description I felt I could work with at the time, as well as certain personality characteristics I felt I would be able to translate into his overall appearance; such as his greed towards money, his heartlessness when killing the witch or his lack of knowledge of people using him for his money. In my first rough silhouettes I tried to stick as closely to his description as possible, such as the knapsack on his back, his boots and his sword being the things he carried. It was only after talking to my lecturer that I was told I was able to be a lot border with my ideas.


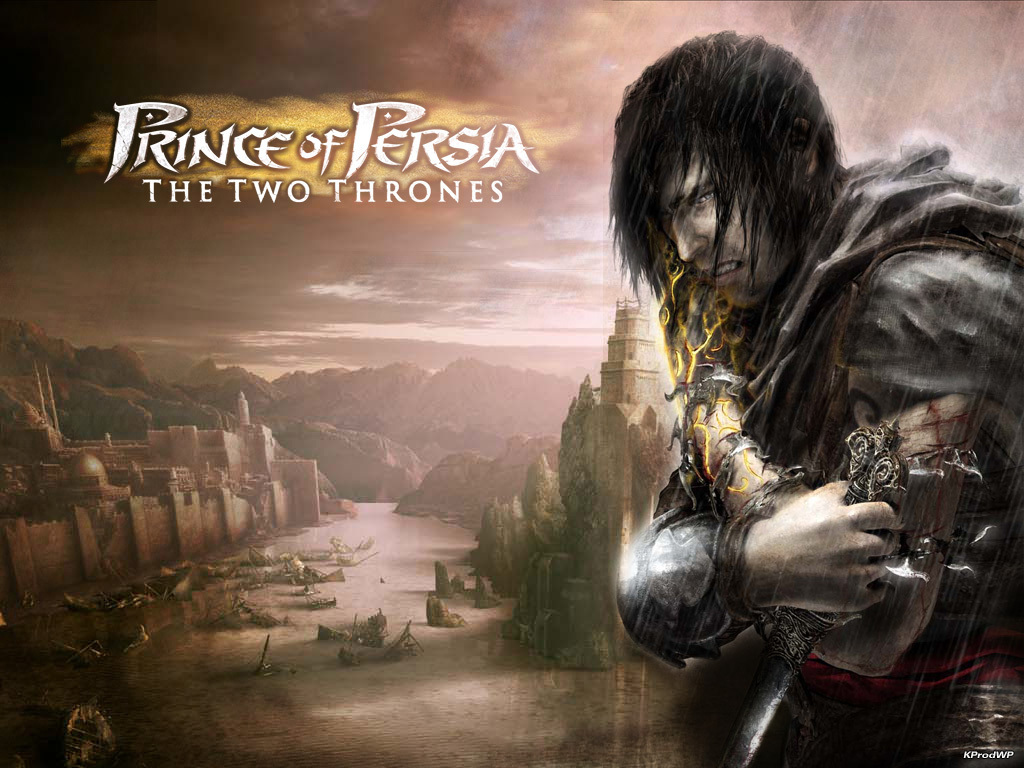
Most of my silhouettes have a large amount of inspiration from the game ‘Prince of Persia’ as it matched my theme and had a fair amount of ideas to work from. However I found that the images I used seemed to stem too much from this so I had to reel it in so I didn’t cross the line of plagiarism. I used the same method I always used of having a basic human shape drawn out and adding detail over the top which is much more effective time wise as well as quickly getting ideas down. By about the fourth page of silhouettes I had fleshed out the figure more and started using more detail to show such things as clothing, facial hair and other things just to show a difference in design.


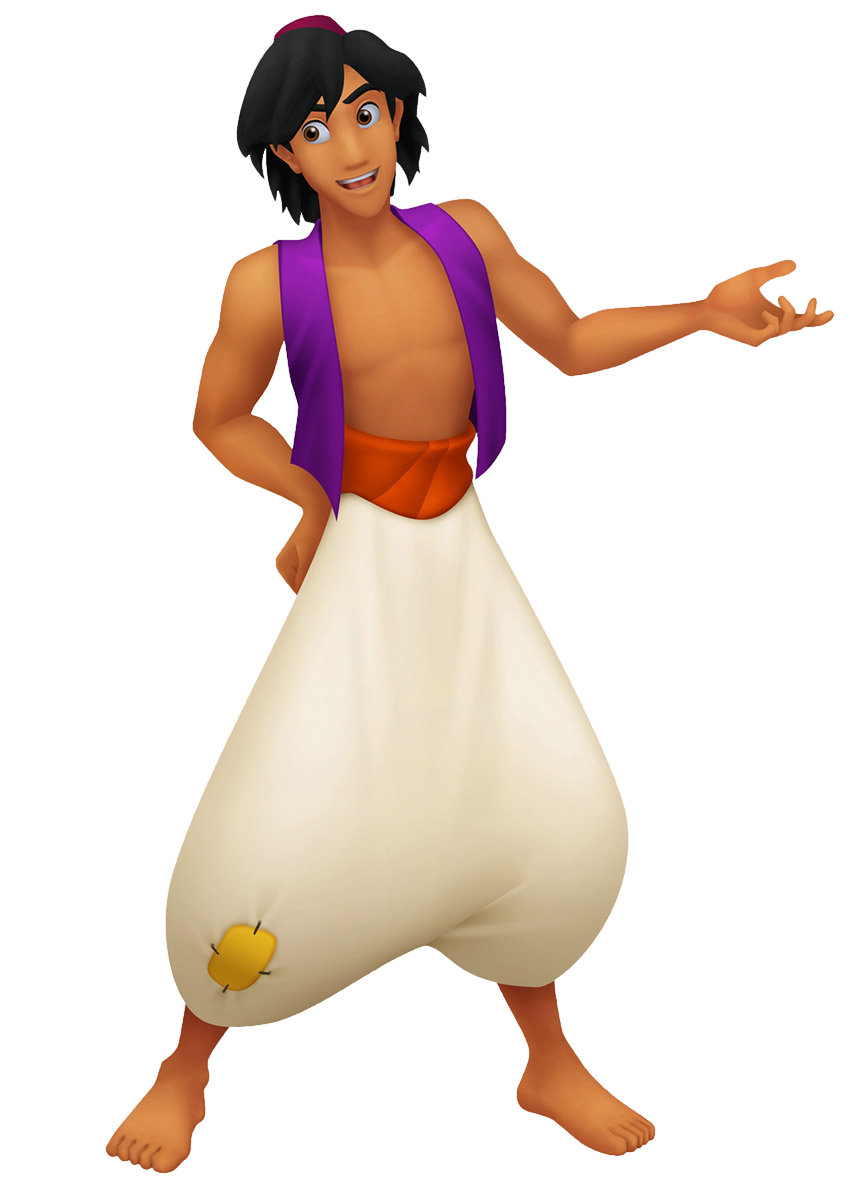
Before I continued with my character I went and create a mood board based on how I wanted my character to look. I looked at a few articles of clothing from Persian paintings and historical work, as well as from other people’s views. As before I also took inspiration from ‘Prince of Persia’ the game as well as the film ‘Aladdin’ as it is believed they are heavily linked from the solider, witch, princess and dogs linking to the films characters. Although I didn’t want to take to much from the media sources they helped a lot in looking at culture and basic clothing.

After I had a rough idea of what I wanted I started designing hair designs. These were very rough and some not being very practical; however I wanted to get as many preconceived ideas out of my head just as a reference for later on. The designs stemmed from having hair tied back to a completely shaven more masculine tone to them as I still hadn’t designed much about the character’s overall backstory or goals, other then what was already told to us in the story.
Although I started and ended with the solider I also did some design into a male version of the witch. I liked the idea of this wandering nomad warlock with some sort of mask or mystery behind him. Although none of these clothing designs were used it was interesting to see how much of a character I could change while at the same time keeping them in the stories setting.

It then came to further designing clothes and other garments for the soldier to wear. At this point I had talked with my lecturer and made my own backstory for the solider; being that during the time period the Persians used slaves for manual labour when a great war came, rather then sending troops out to die the Persians sent out slightly armoured slaves to try and take out some of the other troops, the main character (the solider) ran from the battlefield, and ran away, hence leading up to the events of the Tinderbox. Since I made this backstory as I wanted the character to be in less armour then a conventional solider, with rags or bandages covering his body from the wounds he received. I also decided to keep the shackles of chains around his ankles to further signify he was once a slave. Once I had this backstory set designing his clothing was much easier, giving him ripped clothing or bandaged arms and legs to show he was wounded during the war.


Once I had chosen the basic design I wanted I started to iterate what the overall appearance would look like. At first I found it difficult drawing fabric and using colour in this way however after asking for advice from my lecturer who also drew up a design idea for me to gain some inspiration from I found it much easier. We both had the same idea that after the solider fled the battlefield and he wandered the desert for some time, which was why his clothes were so ripped and torn. We also discussed about why he wore the hooded garment, which at first I simply liked the design, but then made it also he wore the coat as a way to hide his appearance as he was technically on the run from the Persian Empire for desertion. He used the coat to cover the little armour he wore and also that he was a slave. I also wanted to create a reason why he was so greedy in the Tinderbox and decided to link his heartless killing of the witch to him seeing this as a way out of returning as a slave.

The colours I initially went with were desert like colours like sand or gravel, as well as browns from dirt. However what I found was some of the brighter colours worked just as well. For example one of my favourite iterations was on the second page, which used a lime colour. I really liked the way the colours worked on the fabric he was wearing. This may also have been to do with the way I drew his coat, as after my first few designs I kept the long ragged look but also changed how the coat sat on his figure, whether it was a more poncho bases coat or whether it swirled round this body in a somewhat fashionable/appealing sense. When designing my character I wanted to dive into more then just his outward appeal, as that I wanted to also look at the personality of the solider and what made him into the character we meet in the Tinderbox. I found after making his backstory his outward look was more tired then anything else, of course I wanted him to be strong and war-torn but in addition I wanted him to seem tired and fed up of all the things he had been through prior, hence making him act the way he does in the existing story as well as his attitude portrayed by his appearance. Because of this I kept arrows in his back as although of course these would cause pain, his attitude would be more uncaring and he would eventually not care about it, and simply focusing on running away.


Once I had picked an overall design I liked, which was the dirt covered nomad look, I went and showed what would be under his coat. This was fairly simple as I had already pre-existing clothing designs from before. Most of these were created from scratch but I did use some inspiration from my silhouettes before such as the use of bandages. I kept the idea simple and easy as his coat would be the main piece. I didn’t want to give him heavy armour as I felt that he wouldn’t be wearing it at this point as well as it would be heavy to carry. I made his notable mark of fighting in the war as his arm bands, as I wanted these to have some sort of marking that said he was a solider or from battle, which I further developed later on. I kept the overall design pretty simple but had them either plated with metal or more complete straps rather then just some leather around his forearm. As for his clothes under the coat they were all ripped or dirty trousers and some form of bandaging for his wounds.


After talking to my lecturer about characteristics through facial expression. Like before he drew a rough version for me to use and I was able to create some facial expression from this. It was still very difficult to create faces that had life in them and the first few drafts looked either to small for the head they were on or just looked lifeless. However after Nigel’s (lecturer) draft I was able to slowly piece parts together and get used to how a face works. Because of the problems I was having I am planning to do some studies into how to draw faces better so this problems doesn’t arise again.

Once I finished with the overall look of the solider I moved to working on his character and model sheet. While working on the character sheet I found a useful trick to create movement and the way they do certain tasks. But drawing out a pose, then lowering the opacity of that frame and then drawing over it, it’s almost like a very rough stop motion piece, and by doing this I ended up with a collection of movement that looked more fluid then drawing them out individually. These made the movement such as using his sword or climbing a wall seem much more together then just a single frame of movement. I also choose to colour him in just a single colour rather then adding to much detail, as I wanted the focus to be on his characteristics. My favourite out of the sheet would have to be the use of the tinderbox, as I knew how I wanted him to use it but didn’t know what would happen next, making me have 2 designs I couldn’t choose from as I liked the idea of both.

The model sheet was slightly difficult as I have to design the flowing fabric would look like from multiple angles. I found this quite difficult to do but feel I made it work well. I also designed to add in what the character would look like with his coat open rather then shut by the wind, as I needed to see and show what all the clothing pieces coming together looked like. I also added in his sword, as before I was going to have the sheath on his back however the look wasn’t right so I redesigned it to be around this waist. I like this more as not only does it seem to fit the Persian theme more, it also means it can be another part of his past life he keeps hidden under his cloak.

For my final I began with drawing out my character in a pose, timing it just after he has stolen the tinderbox for himself. I wanted the final image to show not only his new attachment to the box but also some of the world he lived in. I choose to have him sitting looking like he was contemplating what to do next with the image of the tree behind him. However once finished the image didn’t look right with detail missing from both the solider and the are he was in. I tried changing a few things around but the image didn’t look quite right. I decided I should start again and focus more on detail and making the character look how I imagined them rather then trying to force them into a pose or scenario I couldn’t see them in.

For my actual final I choose to have in in a knelt position in the desert. I spent at lot longer on this image, using varying layers of brushwork to try and create the look I wanted. Although there are still things about this image id want to change, such as the detail in the background and the detail of his clothing, I find I like this this version much more. The desert looks like it has different levels to it and the solider seems much more human looking. I wish I had more time to work on the face and hair however I’m still glad with the overall outcome. Used the same colour of the sand to create marks on his clothes like they where dirty and also like the way the coat is blowing in the wind. In all I am very happy with how my work came out, although there are a few things I would have liked to work on, I’m glad my character fits the Persian setting and that I was able to but enough detail to have him look like a final concept.
Bibliography:
http://media-cache-ec0.pinimg.com/736x/1a/ca/a7/1acaa70ff4d19b0122b5c392e3e01311.jpg
http://world4.eu/wp-content/uploads/2013/04/ancient-medes-clothing166.jpg
http://41.media.tumblr.com/e15d31a65549c7296ff4c23d2b9db0ed/tumblr_ncqn86POuB1skaxu8o3_1280.jpg
http://aminus3.s3.amazonaws.com/image/g0008/u00007592/i00921147/6427482a39ca28051d72258a178c19f1_large.jpg
http://i0.wp.com/www.kavehfarrokh.com/wp-content/uploads/2013/08/achaemenid-Elite-Immortal-Guards.jpg
https://persianperspective.files.wordpress.com/2007/03/httpmedia.putfile.combayrouachaemenid-soldier1.gif?w=553&h=480
http://cf067b.medialib.glogster.com/media/bb/bb9eb5cd65efec44d1649bce450769687b36845b636d551e4716ec9f20c3ec49/slavery.jpg
https://ritabay.files.wordpress.com/2012/02/slave-market.jpg
http://www.justpushstart.com/wp-content/uploads/2010/12/popww5.jpg
http://assets2.ignimgs.com/2008/05/28/prince-of-persia-20080527114815313-2413264.jpg